
My First Weekend With a Sony
If you know me, you know that I’ve been a loyal Nikon shooter for over four years. I never touched anything other than my Nikon. However, one year to the date that Nikon USA informed me they had picked me as one of the Nikon Top 100 photographers in celebration of the 100 years of Nikon, I pick up my first Sony, the Sony α7 III. I was delighted with Nikon as far as photography went, but when it came to video it was disappointing. The size and weight of my gear were also pretty discouraging.

Sunrise at Tunnel View - Shot was exposed for the highlights and I was able to save the shadows in post-processing.
On this trip, I tried pushing the camera to the limits - as far as I knew how obviously. I shot sunset, sunrise, stars, midday, shot directly at the sun, bracketing, handheld bracketing, and did short videos along the way to test it out.

30 Sec. f/2.8 ISO640, Shot with Sony a7iii and 16-35 2.8 G-Master
One of my favorite features right off the bat is the mode that allows you to see your composition when it’s pitch black. You press a button, and suddenly the camera’s ISO gets pushed high, and you can compose your image. I have no idea what it’s called, but thankfully my friend Tyler Drumshell (Check him out and leave him some love), who also shoots night photography, helped me by setting as button C4. I liked the idea of being able to customize all the buttons - it can save so much time and even better, it can make life easy when shooting in the dark.
The first place me and Cassi went was to Yosemite, it is our tradition to visit Yosemite and the Easter Sierras the first weekend of Fall, and this would be the best time to try out the new camera.

Shooting with Sony directly into the sun during sunrise.

Shooting sun rays from Half Dome Village
One shots that Impressed me was from the cafeteria at Half Dome Village. I saw sun rays coming from the windows; however, the inside was dark. I attempted to show fast enough to that I could have a sharp shot, but slow enough to capture more light. When I edited, I was incredibly surprised with the outcome; I could even see the light bulbs that were initially overexposed.
Another lens I have acquired is the Sony 85 1.8, which is a fantastic lens for the cost at only $600. My beautiful Fiancé was kind enough to let me take portraits of her, even though we had been camping in the Jeep for a couple of days. I did minimal editing to this portrait shot because 1. she doesn’t need it :) and 2. I want to show how the lens truly captured the image.
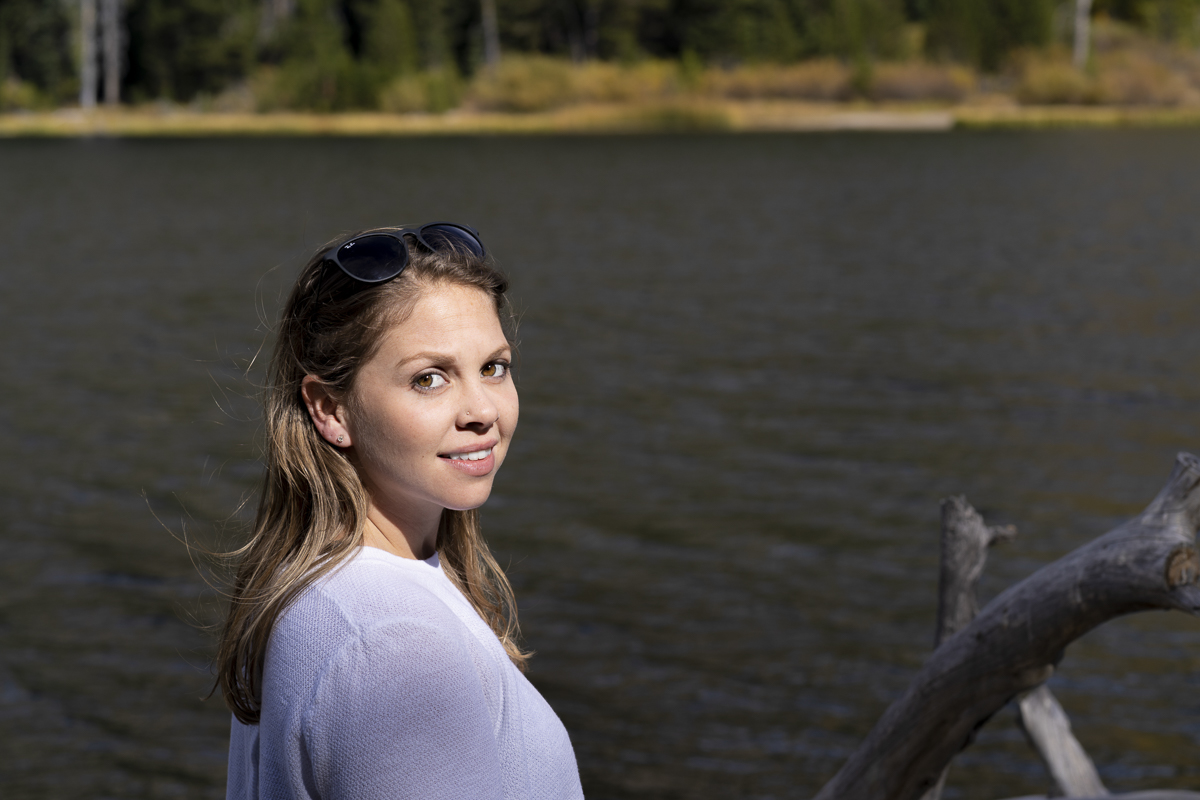
Cassi shot with the Sony 85 1.8 Prime
This leads me to my next point. The Eye Auto Focus, or EyeAF. When it focuses, it is GOOD. However, it's important to know that it is not perfect. At times it did not recognize her eye and a couple of times it focused on her eyebrow, still really good! What I found out was that it works best when your subject is looking directly at the camera, versus facing slightly away, on that case it was pretty much perfect. This was my first time using this camera and feature. Therefore it is essential to know that I am still learning.

Sierra Fall colors portrait taken with the Sony 85mm 1.8
The Sony α7 III also has a new feature where you can tap your finger on the screen to focus. Though I am a viewfinder focusing person, at times the Auto Focus will not go where I want it to be, which happened when I was trying to get a shot of the mountains. That is when I remembered that I could touch the LCD screen and pick where I wanted to focus. It was awesome!! One thing that I would change though, the touch focus box is gray, so at first, I could not even tell if it was working or not, but it worked out fine.

Using Touch Screen to focus on the mountain.

Milky Way shot over the lake. 15 Sec. f/2.8 ISO8000
Finally, I got to do some real night shooting, the Milky Way. Since I had heard many great things about this camera’s ability to perform in low light, I thought this would be a perfect opportunity to try it out. Shoutout to Cassi for pointing out the moon had not risen yet, and we could see the Milky Way. As you can see…. pretty damn good!
So far I’m thrilled with the results, once fall is over I will create another post with favorite shots of the season, and write about my experience with the camera since I will have used it a lot by then.
Conclusion:
I never thought I’d say this, but I’m digging this. Other than being afraid to drop it, this camera has been great. My Nikon was a tank, and I knew that if I dropped it, it would probably be okay and live to shoot another day. However, I’m deathly afraid to drop the Sony. Being big and robust has its strengths and weaknesses, that is to say, something I enjoyed about this trip with the Sony was that my back was not hurting as much due to how heavy, gear was. With the Sony being smaller and lighter, it made a world of difference in my camera back when it came to space available and size. All in all, I’m excited to be out there more and learn more about this gear, and I am pleased with what I got so far. If you have any comments and feedback, please leave it on the comment box below.
My Gear on this trip: Sony α7 III, FE 16-35mm G Master, and 85mm 1.8.